
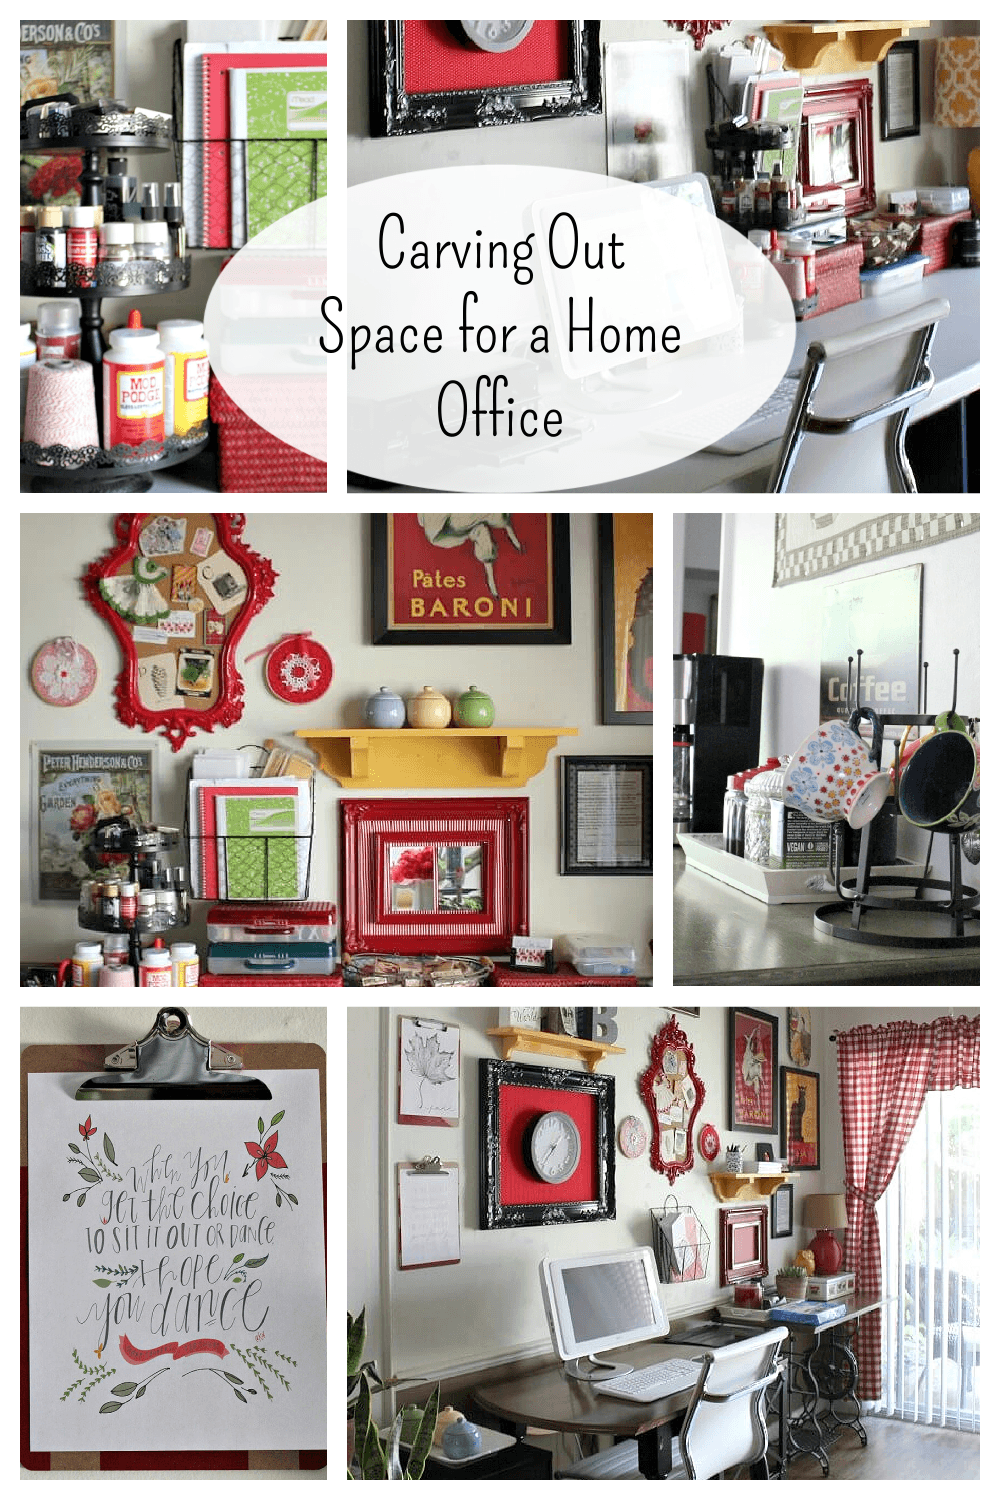
Carving Out Space for a Home Office
This post may contain affiliate links. If you purchase through links on my site, I may earn a commission at no cost to you. For more information, please see my disclosure policy.
I’m carving out space for a home office in my apartment’s dining room area. I’ve decided this is the best use of the space right now.

I decided to have both my office area and craft space in my dining area. My living room and dining room are one long space. So it’s the best area in my one-bedroom apartment to do this project.
I ordered the white office chair from Wayfair. It’s elegant and comfortable. It was just over a hundred dollars. That was most of my budget for this project.
My First Attempt at a Desk:
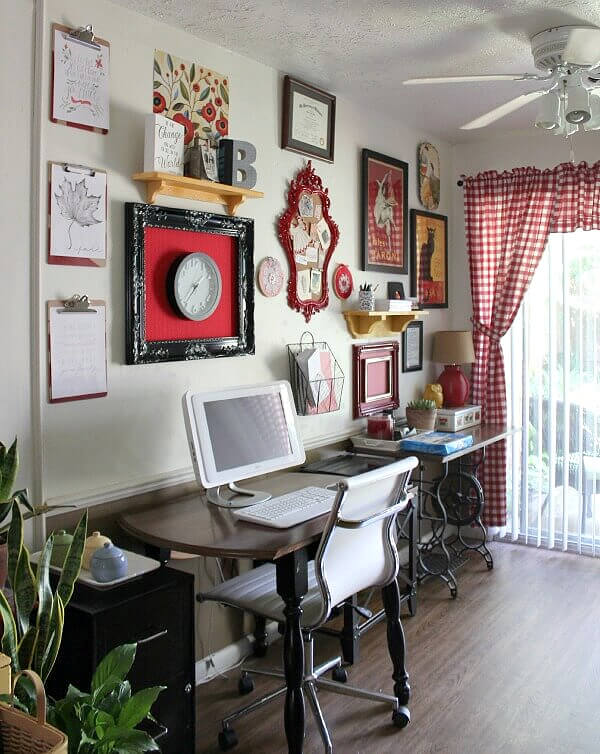
Last time you saw this space, I had just gotten everything I needed moved in here. I was using a round, brown drop-leaf table I already owned as a desk. But then I found that my new office chair scraped the sides when I moved it.
So I knew I’d have to come up with a different table/desk to keep from ruining my chair.
Suddenly, carving out space for a home office was a little more complicated than I originally thought.
Deciding What to Use for a Desk
Should I get two file cabinets and put a tabletop surface on top of them? Buy unfinished kitchen cabinets that I could make into a desk?
I looked for days at simple DIY desks online. But I didn’t find anything I wanted to buy or DIY.
So I decided my best bet might be to go with one of those fold-up tables they use at events and large dinners.
It was important that I see the table for myself to make sure it was sturdy enough to support a heavy desktop computer. I couldn’t be quite as sure about that if I purchased one online.
With that idea in mind, I headed to Office Depot to check out their folding tables for my new office space.
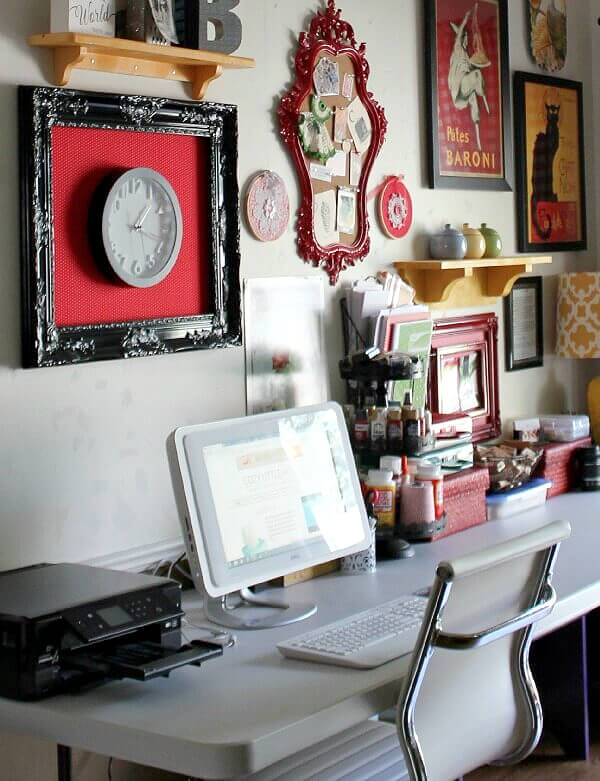
I ended up purchasing an 8-foot-long folding table for $109. The box with the fold-up table easily fit into the back of my SUV. I figured if I ever got another desk, I could use the fold-up table for other projects.
This seemed to be the least expensive way to have both an office and a craft space in the same room. And at the same time, take up the least amount of space.
This longer desk option meant I’d have more surface space to spread out when making crafts.
Now, I was ready to roll! I put the furniture in place and began decorating. Then I added what I thought I’d need to the desk and started a few DIY projects to pretty up the walls.
I was happy to have carved out space for a home office that would meet my needs.
Artwork for the Walls:
I decided to create some of the artwork for the wall above my desk. That would save money, and I was kind of looking forward to a little DIY time.
So I created a fabric frame for the clock. Then I double-framed some photos I’d taken and arranged them inside two red picture frames.
Then I came up with the embroidery-hoop art to soften the angles on the wall.
How I Created The Fabric Frame For The Clock
I cut the fabric slightly smaller than the frame’s outside. Then I thumbtacked the red-and-white polka-dotted fabric to the wall and hung the frame directly over it.
The frame covered the fabric, so I didn’t have to consider any sewing or hemming. Then I hung the wall clock in the center.
How I DIYed Double-Framed Images
See the red frames below. The smaller red frame is inside a larger red frame.
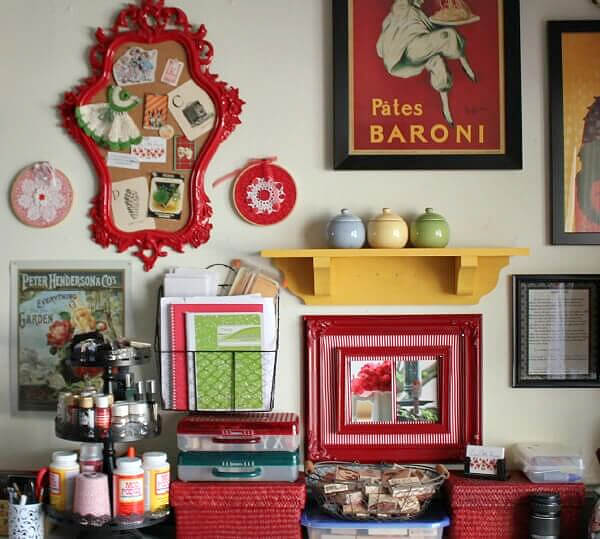
The images I used are photos I took. One of a white creamer with red flowers, and the other a red cardinal.
I put the fabric from my stash on the wall first, then added the large frame over it to make it look like it’s actually inside. Then I hung the smaller red frame inside, with the photos I took.
It’s just another little DIY I came up with to decorate this space.
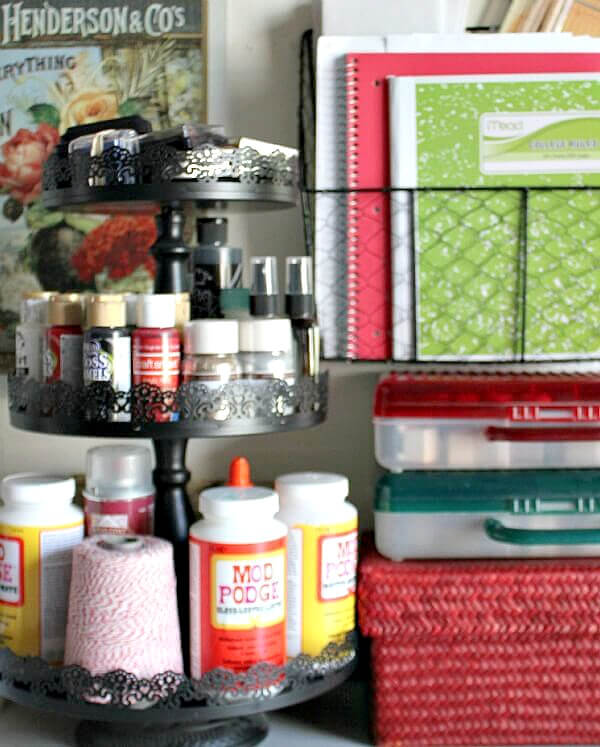
I put paint and glue in the black tiered cupcake stand. That housed these things perfectly, and I could turn it like a Lazy Susan when I was searching for what I needed.
The red textured boxes act as storage for smaller office items.
Embroidery Hoop Art DIY
I used red and white fabric to stretch over the inside part of the embroidery hoop. Then I put the slightly larger part of the hoop over it to secure the fabric.
Then I looked in my linen stash for small white crocheted doilies to decorate the hoops. I also hot-glued buttons to them.
Then I used ribbon to tie them to a nail in the wall.
How I Painted The Clipboards
I applied Frog tape to each of the three clipboards in both horizontal and vertical orientations. Then I painted over the tape with red spray paint. After they were dry, I added the printables.
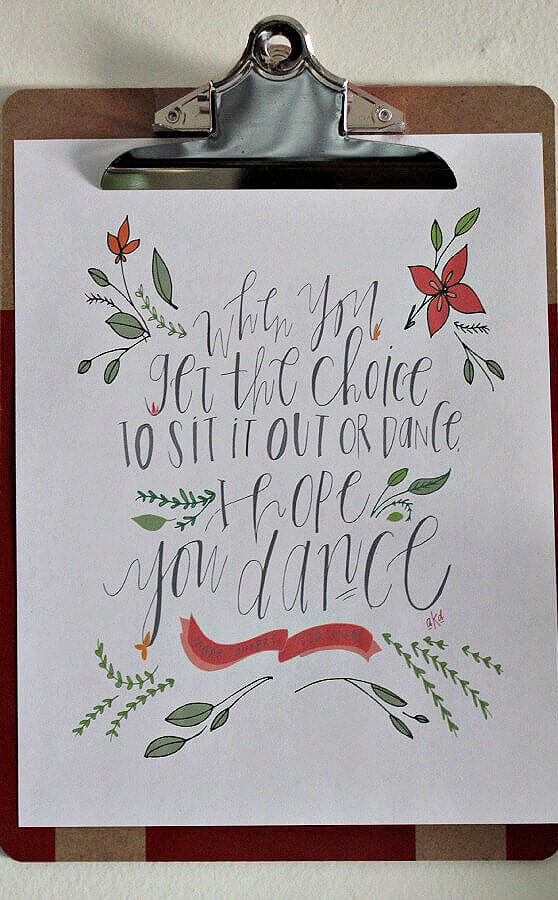
I printed out the printables with my printer. All the printables were free online. I clipped the printables to the clipboards after painting.
Sometimes you just have to think outside the box to incorporate a small home office. I needed the space for an office more than I needed a dining room.
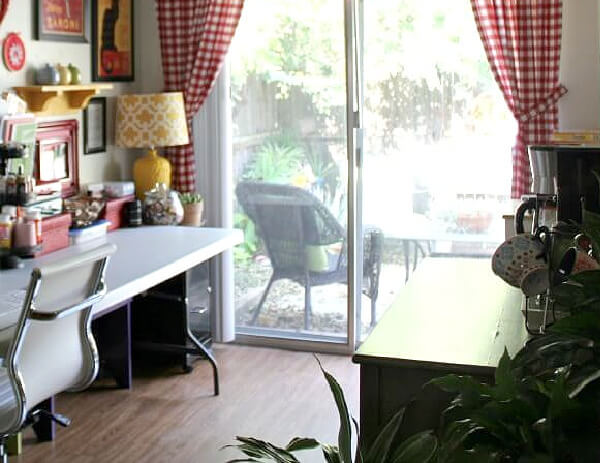
And now I have this perfect space in my dining room where I can gaze out the French doors and see my beautiful patio garden.
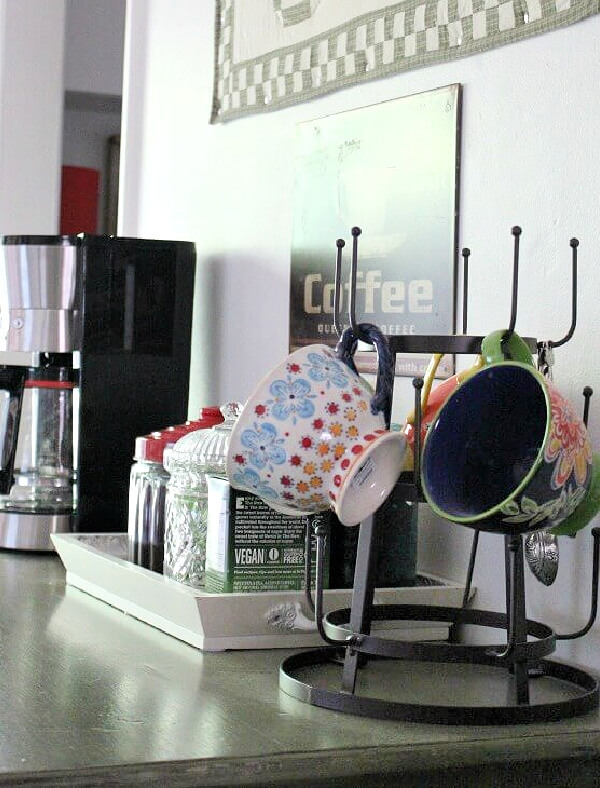
Plus, the coffee bar is just across from the office, so I always have fresh, hot coffee while I’m working.
What I Purchased for This Project:
- Office chair – Under $120
- Black wire basket – $8
- Red spray paint – $5
- White can for pencils – $3
- Three clipboards – $10
My budget for this project was $150. The chair took up the bulk of that. So the total is $146. I got pretty close to my budget allowance for this project.
Carving out space for a home office was fun and gratifying. I accomplished my goal of having a small office in my one-bedroom apartment, even if I had to use the dining room.
Now that everything is in place, I find that I love working in here.
This room is such a wonderful light-filled area. I don’t have this kind of natural light anywhere else in my apartment.
My office chair rolls easily from the office area to the craft-making area. So I’m very pleased with that. It just made everything so much easier.
My house plants love all the incoming light.
I get to watch the squirrels and birds and the leaves falling from the trees while I’m sitting at my desk.
Yes, I think this was my best choice in terms of space and cost.



So cozy that I'd never want to leave! Love it and so inspired by it and your blog! Thank you.
That looks awesome Brenda!! I love that little red fancy bulletin board. Too cute! Thanks for joining Home Sweet Home!
Oh my goodness. Great job on the fun wall. I love every detail! Thanks for sharing at Your Inspired Design!
Such a beautiful space, Brenda. Everything about it speaks volumes about productivity. Organization, inspiration, color, repurposing and personality. I love it all. You are such a clever sweetheart! Awesome job!
Your office is coming along nicely! The gallery wall looks fabulous, love the touches of red! And that was a wonderful idea for the clipboards! I may have to borrow that idea! 🙂 ~Rhonda
Thank you for sharing at the Thursday Favorite Things blog hop
It looks beautiful Brenda, love that you shopped your house for the "desk".
Tania
I am curious about electricity needs and costs across the country. Our bill is generally $16 a month. I think that's pretty low.
I love that you shop your house. I am sure the businesses don't want to hear that, but we need to not always be consuming.
I'm playing catch-up on my reading but wanted to tell you how cute this looks. Absolutely great use of space and the decorations/wall decor are perfect. Great job.
I love this—you did good! I like my work space to be in the 'middle' of things, too.
Jane x
Another decorating task that turned out magazine worthy…
What a cheery office space to work in and having your coffee bar within arm's reach is awesome. I'd love to have a nice big window to look out while I worked. Love it!
Brenda you inspire me.
Great job; love it all, but you probably would have been more comfortable with a desk chair with arms. I find it soothing to be able to rest my arms on mine from time to time. Office Depot always has a deal on expensive arm-desk chairs for so cheap you wouldn't believe.
I love your little office area! I have to work near a window, too. And I love your gallery wall just the way it is, with all the cheerful colors and quotes…and the curtains are so cute, too. I'll gladly send some of this cold air that just hit us from Canada today. It's only 47 right now and going down to 28! Too stinkin' cold already.
It's a very nice and bright home office. I'm trying to send you some Autumn chill.
What a cheerful and creative work area Brenda! I love all that natural light too. Can't believe how hot it is there! Come visit us in Seattle – tomorrow is supposed to be in the 70s and sunny… Then it cools down and the rain returns :/.
Your chair looks great! I do not have an office space in our downsize so I envy yours. I want to try the clip board idea too. I love to print graphics, quotes, etc. In grad school I used an old drop leaf table as my desk. It usually had an old manual typewriter and papers all over it most of the time. ha! Your office with a view is a good thing! Sheila
I taped the clip boards to the wall with this tape that was supposed to be strong enough to hold things like that on the wall. And it worked!
Good Afternoon Brenda, I love that you put things up 'willy nilly' and then change things around if they do not suit. I do exactly the same.
Your office space is so lovely and with all that natural light streaming through the window, it is going to be a lovely place to sit and work.
I love your treadle machine base…. I have one which I am in the process of painting. I still have the original sewing machine inside, although it does not work.
It has been lovely visiting you today.
Have a wonderful weekend.
Best Wishes
Daphne
ivyphyllisandme.blogspot.co.uk