
How I’m Transforming My Rental Kitchen
This post may contain affiliate links. If you purchase through links on my site, I may earn a commission at no cost to you. For more information, please see my disclosure policy.
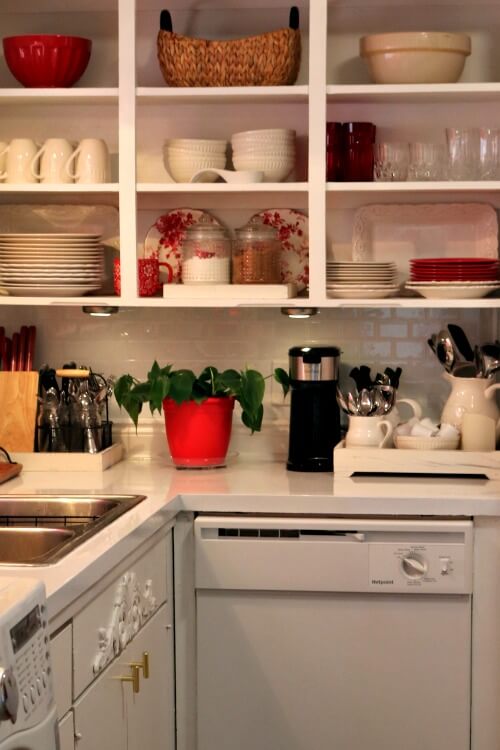
I want to show you how I’m transforming my rental kitchen. It involved taking off the cabinet doors. Then I painted the countertops, added new hardware, and applied glue-on backsplash tiles.

My daughter is still working on the fine cracks around the sink.
Basically, everything is finished except the remaining tiles, some caulking, and maybe a little touch-up painting.
The Subway Tiling Isn’t Finished:
As you might be able to see, the tiles at the very end behind the far right white pitcher are not finished. That’s because we’re waiting for the new subway tiles to arrive.
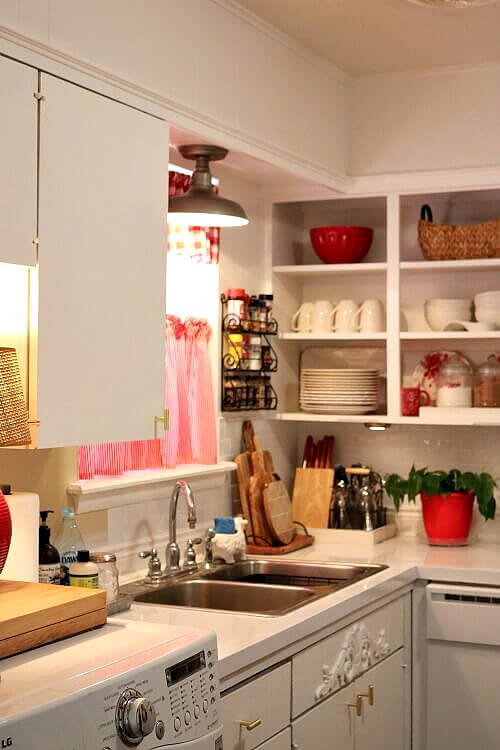
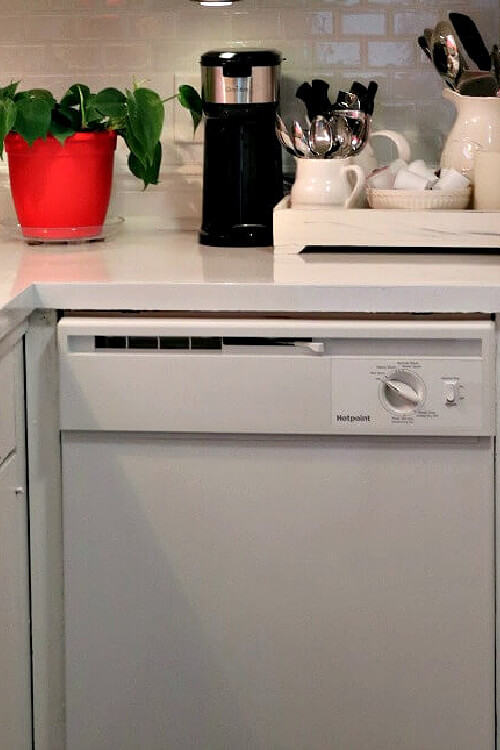
The apartment manager gave me a new dishwasher, but I haven’t used it yet. It does look better than the old one.
Cover What You Can’t Fix!
Remember, with DIY projects, things don’t always come out perfect. You have to come to a place of acceptance and not be too upset when things don’t go exactly as planned.
My motto is to cover what you can’t fix!
Below, you see the new refrigerator I ordered. It fits the space better, and I really like it. There’s nothing fancy about it. I like its simplicity.
Also, note the gold drawer and door pulls that I changed out. The other ones were round and black.
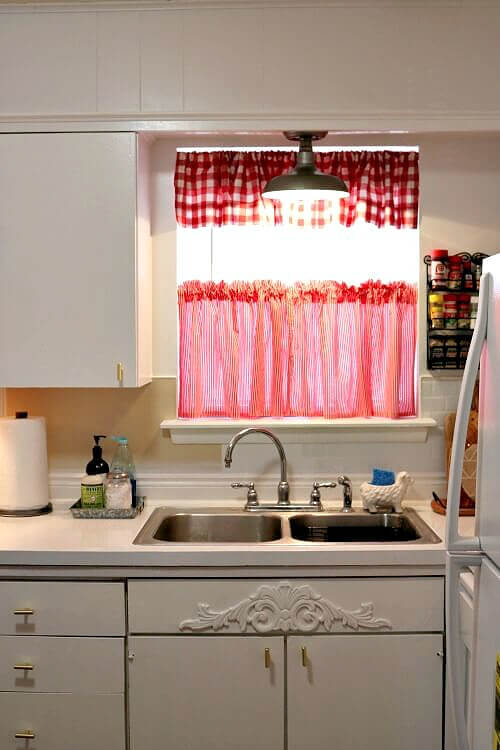
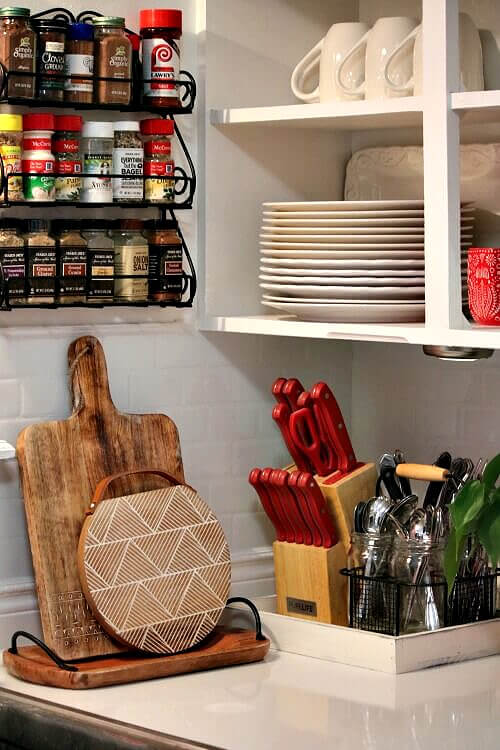
In the above photo, you can see where she stopped with the peel-and-stick tiles when she had to leave on Monday to attend to other commitments.
When she came over yesterday, I told her about Amazon sending more tiles.
The Glossy White Countertop:
I like the glossy countertop surface, imperfections and all, and the clean and streamlined look of the open shelving. I like things I can access easily.
This all began when I removed the three cabinet doors and started re-imagining how I wanted the kitchen to look.
I made quite a few purchases for this kitchen redo. One is the thin coffee maker you see in the photos above. It cost around $50 and takes up very little space. You can use both pods and ground coffee with it.
My Simple Human Trash Can:
I also purchased a Simple Human trash can.

I don’t know if you’re familiar with Simple Human products. But they get rave reviews. As you see, my Simple Human trash can sits right against the wall and opens fine.
The day I went shopping with my birthday gift certificate to Home Goods, I found the Simple Human trash can for $99.99. I snapped it up. The woman working there told me they could not keep these trash cans in stock due to their popularity.
Also, you can store the trash bags, sized to fit each size trash can they sell, in the back of the trash can. You just pull one out.
Another plus is that you can pull up the top and put the bag in; it fits very tightly and will not sag.
The one I bought holds 45 liters and takes an “M” size trash can liner. I order those from Amazon.
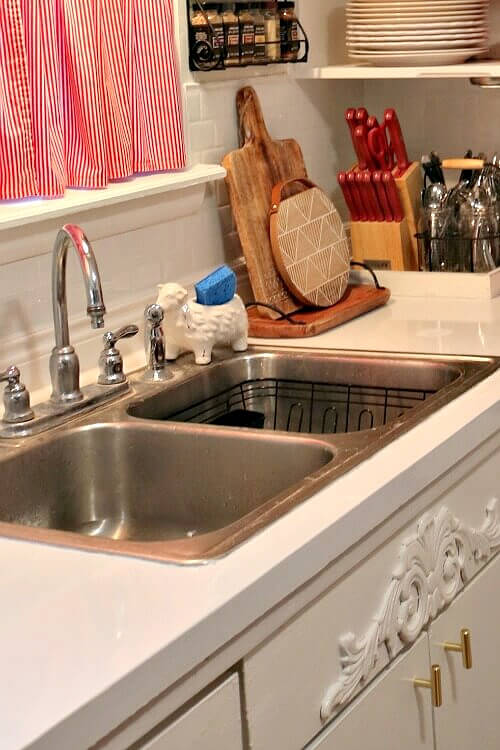
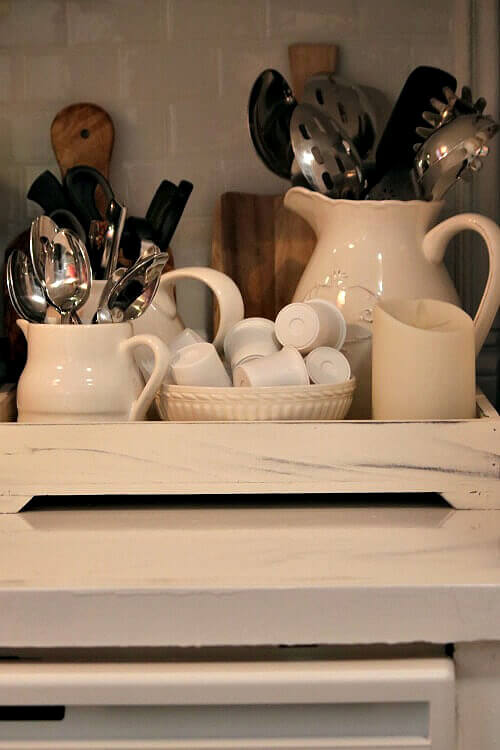
You can see above where the peel-and-stick tiles have yet to be added.
Everything in this part of the kitchen is basically the same, except for the new countertop, the gold drawer pulls, and the fresh paint.
The Cooking Station:
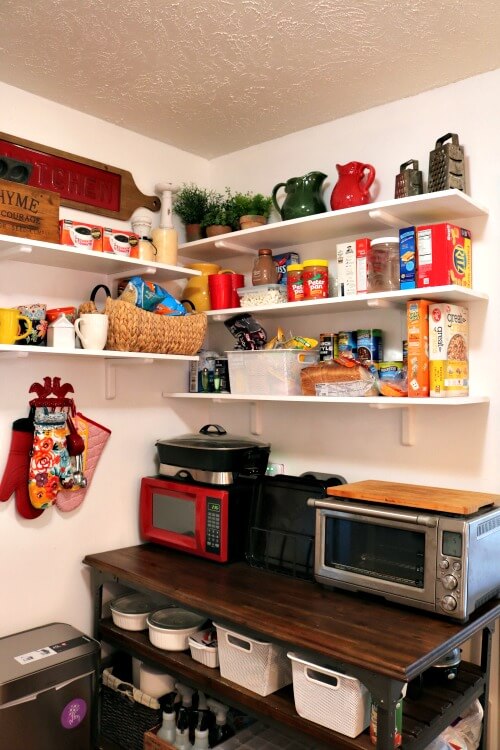
I didn’t put the red microwave back on the countertop. Instead, this is now my cooking station on the kitchen cart I bought from World Market years ago.
I cook meals in the microwave and the Breville Smart Oven. The Breville Smart Oven pans are positioned between the two appliances, where I can easily reach them.
My electric skillet is stored on top of the microwave. When I want to use it, I move it to the countertop.
My oven mitts are hanging on the wall near where I cook.
Having An Efficient Kitchen:
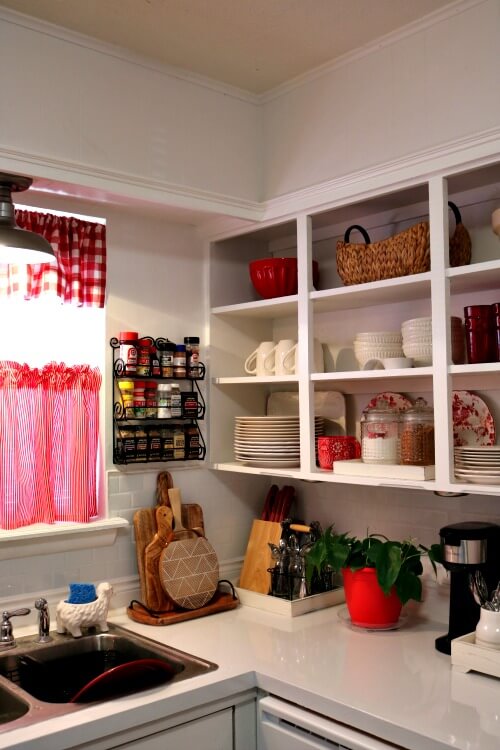
Everything in my kitchen has been relocated for better efficiency.
I have my dishes and glasses in the open cabinets. Some of the cutting boards, knife blocks, silverware, and kitchen utensils are below.
The spices are on the wall above the cutting boards.
Then there is a houseplant, and next to it is the thin coffee maker, which is the best size for this small kitchen.
And next to that are the white pitchers I’ve had forever, holding the rest of my kitchen utensils.
My Laundry Corner:
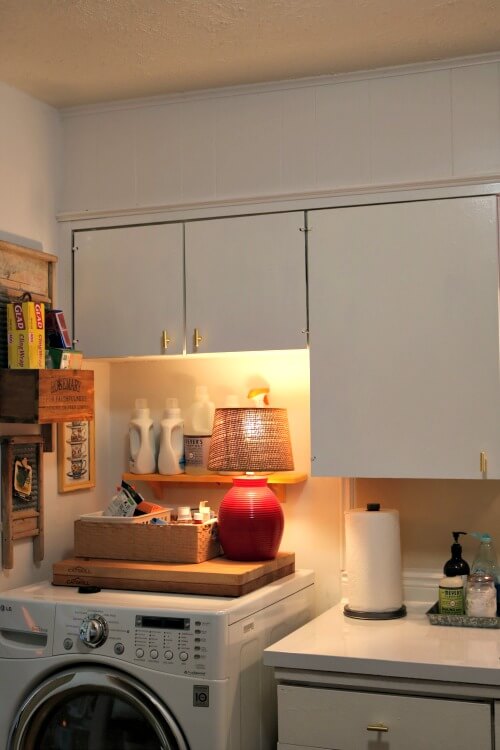
When I firwst moved in here, I ordered the washing machine so I could do laundry at home. I attach the hose to the kitchen sink faucet when I’m doing a load.
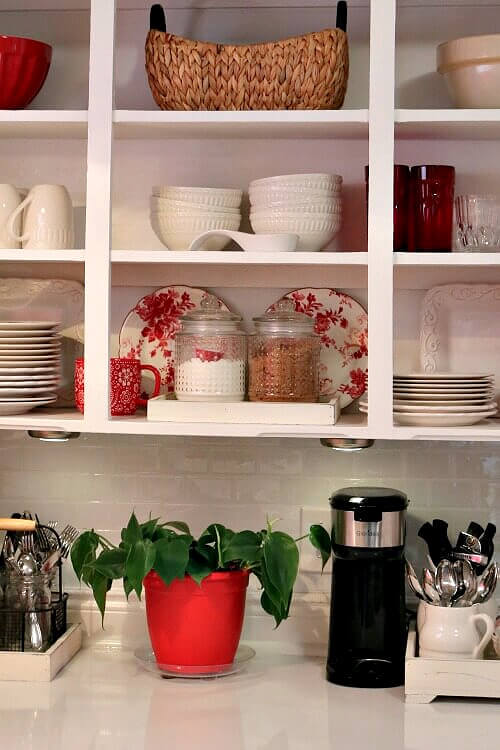
The open kitchen cabinet shelves hold my white and red dishes, which are my kitchen’s featured colors, along with a bit of gold and black.
I truly like the simplicity of this kitchen. When I walk into this room, I feel serene and calm, upon seeing the white walls, cabinets, and appliances.
The Before Photo:
Here is how my kitchen looked before, about a month ago, just so you can see the difference.
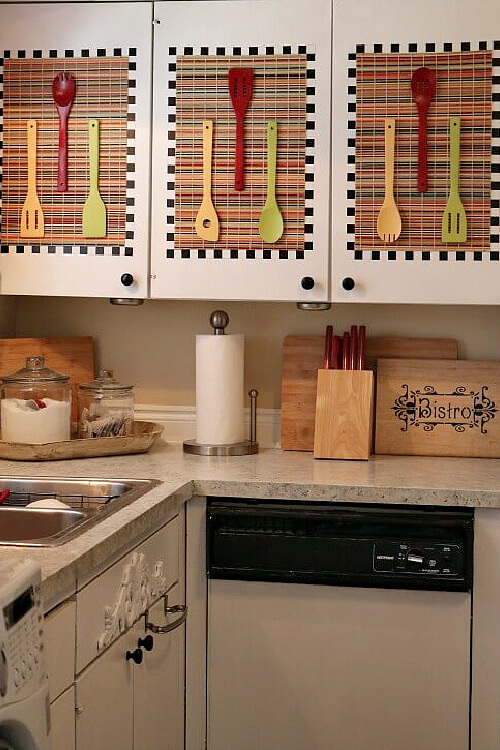
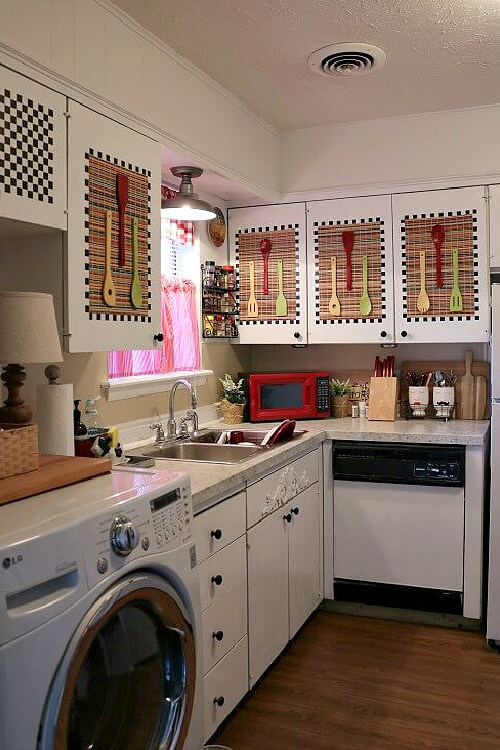
The photo above shows the old dishwasher. Thank goodness that’s gone.
When the maintenance man took it out, he told the manager it was well beyond its expiration date.
Below is how my rental kitchen looks now. I forgot to remove the energy guide from the refrigerator, but I will get around to doing that.
My Completed DIY Kitchen:
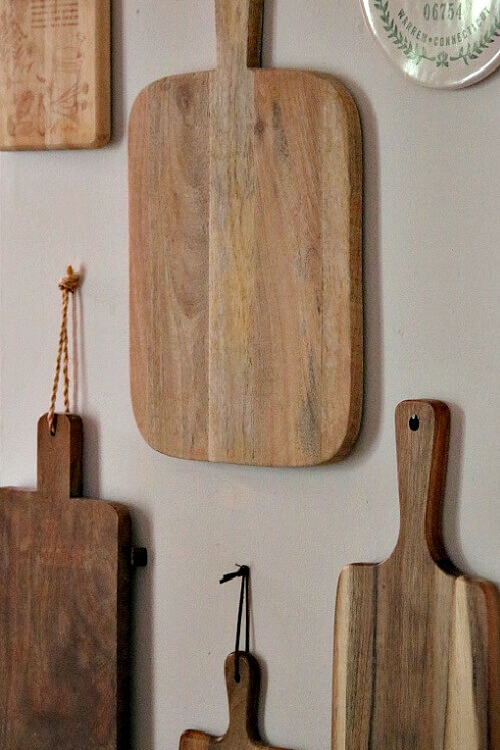
Overall, I’m quite happy with my little rental apartment kitchen. It’s about as efficient as I can make it. It’s organized, and now I can genuinely enjoy it. I hung my collection of cutting boards on the wall in the kitchen to utilize vertical storage.
The Cost Of Transforming My Rental Kitchen:
I will attempt to break down the costs of my apartment kitchen redo.
Of course, I did not have to buy the refrigerator, but I chose to. It is a Whirlpool, and after taxes and delivery fees, it was around $650.
I knew exactly what I wanted, so I walked into Appliance Solutions and said, “I want a white Whirlpool refrigerator that will fit within these measurements. It has to have a handle and plastic shelves instead of racks.”
The man said, “Well, we’ll have to order that.” I said, “Fine.” So I paid for it, he ordered it, and it was installed a week later. I am very pleased with their service and the care the man took while installing it last week.
The dishwasher was free courtesy of the apartment complex. About time I got something free.
GianiGranite Countertop Kit:
The countertop kit from GianiGranite cost $179.95, and I bought it on Amazon.com. I chose not to use the marble effect. I wanted plain white counters, so I didn’t use the cans that would have created the marble look.
The drawer pulls were $38; I had almost a full box left over. They came in packs of 10, and yeah, you guessed it, I needed 11. They had a five-star rating. I value customer ratings highly. I never buy anything with fewer than four stars.
The peel-and-stick subway tiles cost $70 for the entire backsplash. Of course, due to the defect, they’re now sending me the replacements free. We may not need them all, but I originally purchased two packets of 10.
The cabinet paint cost $52. It pays to get quality paint. My daughter didn’t use much of the gallon I purchased, so I’ll keep it in the closet for touch-ups.
The caulking done was courtesy of my daughter.
Total Cost:
If my addition is correct, the total for the supplies to DIY the kitchen comes to $330.00 (rounded up).
The other items, like the trash can, coffee maker, and refrigerator, cost around $800.00. I don’t consider them necessary to the DIY project, but they’re new nonetheless.
If you hate your rental, do what you can to fix it up. There are many things you can do and take with you should you move.
The peel-and-stick tiles are removable, and of course, the drawer pulls can be removed. Just keep the originals, which I did.
The only thing that isn’t removable is the refinished countertop. But if they disapprove of it, I’d rather lose my deposit than live with something I hate. They did tell me I could make improvements.





This looks fantastic, Brenda! I love your open shelves/cabinets. Did you paint them inside? I am just now getting caught up on blog posts after being out of town.
Wow, that’s one expensive garbage can! I have a Rubbermaid one hidden under our kitchen sink. Nowhere else to put a garbage can in our kitchen; at least not close enough to the sink/counters where all the cooking prep work is done.
It is lovely and grate post. Thank you for the sharing this. I agree with bamboo and wooden tools.
I have never seen a kitchen without an oven but I understand how your cooking appliances work for you.
Yeah, I know people think it’s strange. But it’s worked for me for 6 years now. I see no point in having an oven in my case.
Good morning Brenda, everything looks fabulous! I love the new kitchen design. It reminds me of kitchens in Europe, small, efficient and with the washer in the same room.
Brenda your kitchen redo is amazing!!
I love the open-ness of your cabinets & ive started adding red to my kitchen.
Gr8 job & your daughter helped you so much. Counters look perfect Brenda!!
Brenda the re do is absolutely amazing it feels fresh and modern! I especially LOVE the open shelveing nr the fridge. I think the only thing I’d do now is to change up those cafe curtains. I would get some blinds that would complete the more modern look! Apart from that I think you and your DD did an amazing job!
I was thinking of doing just that. But I can’t get up there to switch them out so I will need to find someone to help me. My daughter is overrun with tasks of her own and her children to do and I don’t want to keep asking her. I was thinking something like I have in the living room. Simple bamboo.
It turned out great! I’m with you on the countertops. I like the plain white. Nice arrangement of your dishes and things in the open cabinets.
I have enjoyed watching you transform your kitchen. You’ve definitely given me some ideas on how to freshen up our kitchen on a budget. It looks fantastic!