How To Make Decorative File Folders
This post may contain affiliate links. If you purchase through links on my site, I may earn a commission at no cost to you. For more information, please see my disclosure policy.
I’ll show you how to make decorative file folders for a portable filing system. If you live in a small home, this could come in handy.
Making embellished file folders is a simple, creative way to turn everyday office supplies into stylish, personal items. Instead of plain manila or basic colored folders, you can decorate them with materials that reflect your personality, workspace theme, or mood.

1. Choose Your Base Folder
Start with plain file folders in neutral tones, bright colors, or patterns. Sturdy folders work best since embellishments can add weight.
2. Gather Decorative Supplies
- Scrapbook paper or decorative cardstock
- Washi tape or patterned masking tape
- Stickers, labels, or die-cuts
- Stamps and ink pads
- Ribbons, lace, or fabric scraps
- Buttons, rhinestones, or flat charms (keep flat to avoid bulk)
- Glue stick, double-sided tape, or craft glue
3. Add Backgrounds & Borders
- Cover the front flap with scrapbook paper for a bold look.
- Line the edges with Washi tape for a neat, polished frame.
- Layer contrasting papers to create sections or panels.
Create Labels & Sections:
4. Create Labels & Sections for Better Organization
- Use a decorative label maker or printable labels to make your file tabs pop.
- Add handwritten calligraphy or stamped lettering for a personalized touch.
5. Embellish with Details
- Add stickers, stamped images, or stencils that match your theme (floral, geometric, vintage, etc.).
- Attach a strip of lace or ribbon across the bottom for a soft, feminine look.
- Glue flat gems, buttons, or paper flowers to the corners for extra flair.
6. Seal & Protect (Optional)
If you want the design to last longer, apply a thin coat of Mod Podge or clear adhesive spray. This will help protect against wear and tear.
7. Organize by Style
Make each folder a little different—one might have florals, another might be minimalist with metallic accents. You’ll not only stay organized, but also enjoy flipping through your files.
The result: Every day, file folders become customized, decorative pieces that make office organization feel creative and fun.
I’ll show you how to create two sizes of decorative file folders that are both attractive and functional.
One set of folders fits in a cutting board stand. The other set fits in a dish drainer.
Folders To Store In A Cutting Board Organizer:
These size file folders I worked on are called classification folders. And they fit perfectly in a cutting board stand that I wasn’t using anymore. These are upcycled items I wanted to serve a purpose other than just being in my closet, catching dust.
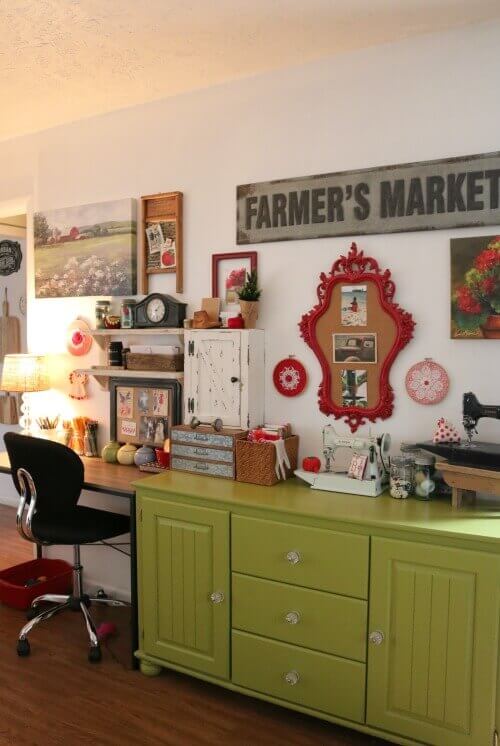
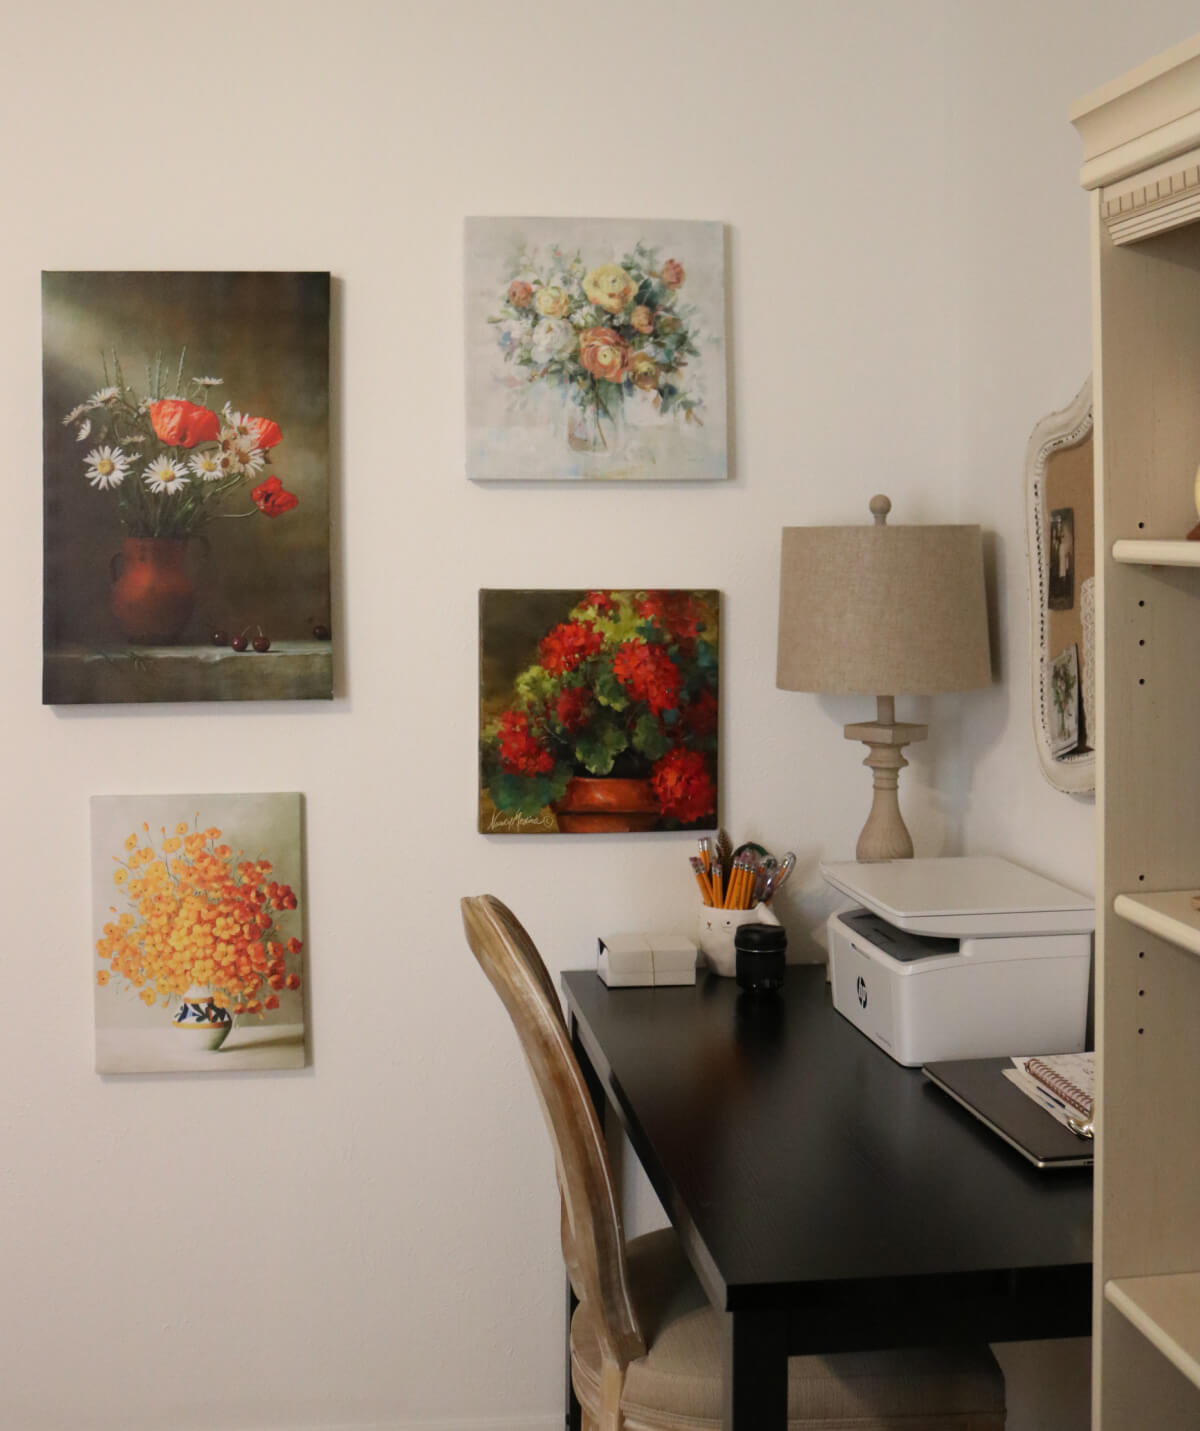
My craft space in the living room of my apartment is very inviting, so it’s fun to work in there. It’s very colorful, with a lot to look at.
I sat down in my little living room craft nook and began my project.
Starting My File Folder Project:
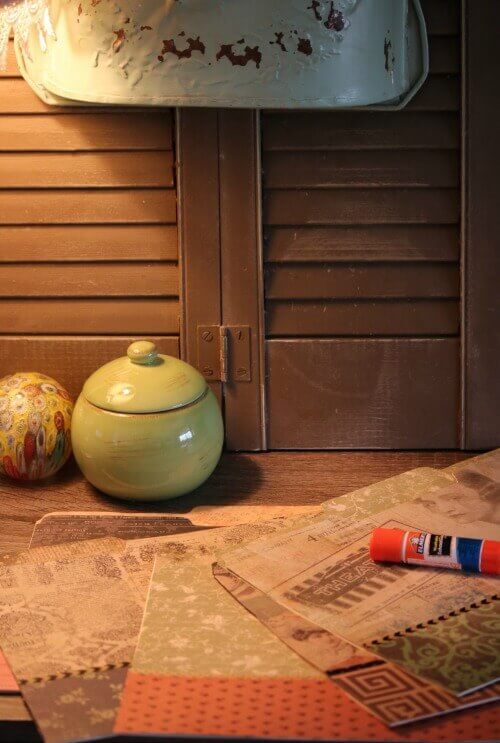
I took a pencil and traced around the classification file folders onto scrapbook paper. Then I cut the scrapbook paper shape out and adhered it to the file folder with adhesive.
This is what I consider a more sophisticated look than the file folders I made for the dish drainer. Years have passed since I made those, and now I want a more muted look.
The instructions for these two projects are unnecessary, as the photos show you what to do.
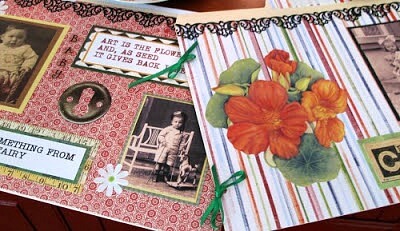
I made the file folders look more custom-made by varying the patterns of paper I used to adhere to them.
I used various types of Washi tape to add a bit of embellishment to the decorated file folders.

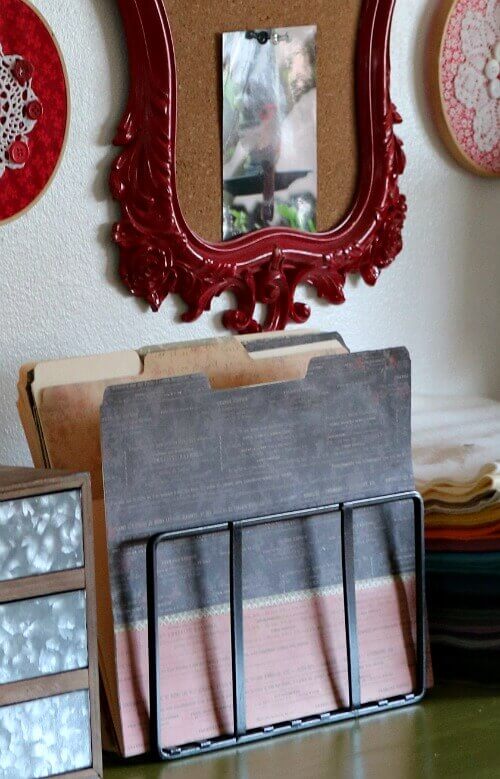
This is the finished product on the cutting board stand. It holds a prominent place among my craft items.
Why I Made File Folders That Fit In A Dish Drainer:
At my old apartment, I had a two-drawer filing cabinet in a closet. But there wasn’t room for all my warranties, medical records, pet information, and other important documents.
When I moved to my current apartment, I didn’t bring my old file cabinet. It was made of cheap metal and basically fell apart.
While going through a closet, I came across the decorated file folders I had made years ago.
Even now, having two bedrooms instead of one, I still decided not to purchase a separate filing cabinet. It’s easier, cheaper, and more portable to use the dish drainer idea to store things.
Instructions For Decorating File Folders:
What You’ll Need For My File Folder Projects:
- Dish drainer
- File folders
- Printed or purchased clip art
- Scrapbook paper
- Stickers or other embellishments
- Glue/adhesive
- Scissors
- Round paper hole punch
- Ribbon
Print graphics or other items you want to use to decorate your file folders.
Arrange these items on top of the file folders. If you like the way it looks, then glue everything down. Embellish as desired.
Upon completion, arrange your decorated file folders in the dish drainer.
How I Decorated My Own File Folders:
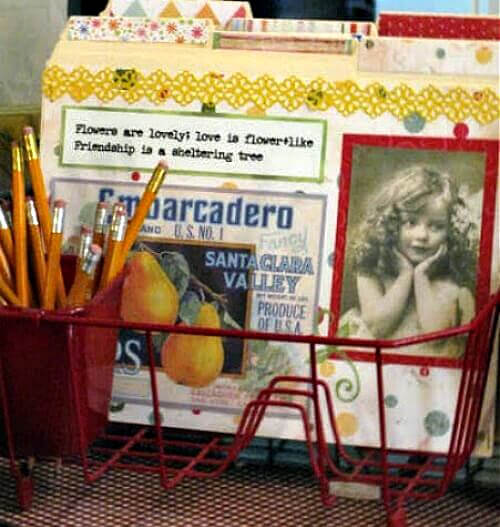
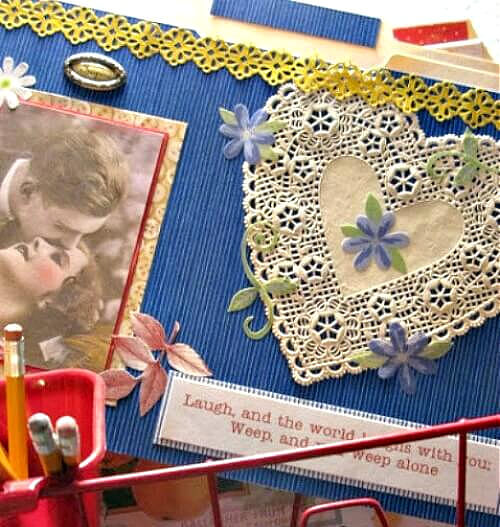
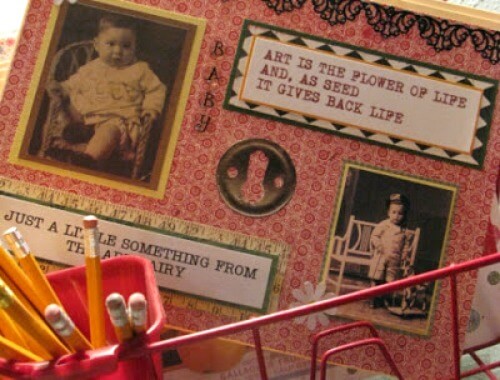
For the dish drainer file folders, I used scrapbook paper, clip art, paper doilies, and clippings from old calendars. I also printed out various quotes that had meaning to me.
I added embellishments and glued them to the file folders with adhesive.
Then I used a round hole punch to punch holes in the sides of the file folders, front to back. I punched one hole near the top and one near the bottom.
I put ribbon through both holes to tie the front and the back together. This is how to keep the papers in the file folder from falling out of the open sides.
I put plain pencils in the receptacle that was designed for cutlery.
The files fit perfectly inside my red dish drainer.
If you plan to purchase a dish drainer for this project, you might want to measure your file folders before you shop. Then you can be sure the dish drainer is a good fit for your files, as they come in varying sizes.
Why I Used A Dish Drainer For A Filing System:
This dish drainer filing system is fun to create and very cheap to make. Plus, I love a good upcycle!
I created file folders for holidays so I could slip in decorating and craft ideas. When I need instructions for a seasonal craft project, I know which month to go to!
The decorative file folder/dish rack idea makes perfect sense for receipts. Since I must store receipts for my blog, I made a file folder for each month of the year. Now I know which month I made a purchase that I plan to deduct from my taxes.
I like the size of this filing system. It fits on a desk, whereas a filing cabinet takes up more floor space. I also like the portability, as I can easily move this file system to another room.
Getting Creative:
You can design your own dish drainer/file folder system any way you like for your decorative file folders. You’re limited only by your imagination.
This project would be a great way for children to organize their school papers, especially their artwork.
I doubt you’ll find a cheaper way to file necessary documents or for decorating, craft, and gardening ideas.
You might consider making file folders to give away as gifts. Someone you know might appreciate this decorative, portable system for their filing needs.
You may already have a dish drainer sitting around. That dish drainer can have a second life as a portable file folder system.
You could get fancy and use one of those vintage European-style dish drainers.


Love this crafty idea. I too like paper crafts and this is such a nice way to ” pretty up” something that is so plain. Thank you for sharing♡
So pretty! I have a filing cabinet to hold my file folders that I use for tax purposes, medical information, etc. but the decorative file folders for my To Do lists, projects, gardening ideas, etc. would look great on my desk. And I already have so many of the items needed to create them. And I love the idea of the dish rack to hold them.
Thanks for sharing.
I love these folders and how you’ve decorated them. I’d like to make some and store recipes in them. The red dish rack is perfect too! Love how convenient this would make it to carry the folders to the table with a cup of coffee to peruse looking for ideas for meals or baking goodies. Cute way to get organized and show creativity too. Thanks Brenda for sharing your ideas !
Those are really, really cute,Brenda. I found some pink ones that I love-but they would be fun dolled up a bit, too. Have a good weekend, Brenda. xo Diana
I remember when you first made these! They’re so creative and pretty. All my file folders are in a drawer in my desk and then we have a ton of filing stuff in special boxes in the basement, so no pretty folders needed here. I also like how you have your pretty folders displayed in the dish rack. Makes a great quick filing system!
How creative and functional too. Love your diy!