
Creative Ways to Hang Plates on the Wall
This post may contain affiliate links. If you purchase through links on my site, I may earn a commission at no cost to you. For more information, please see my disclosure policy.
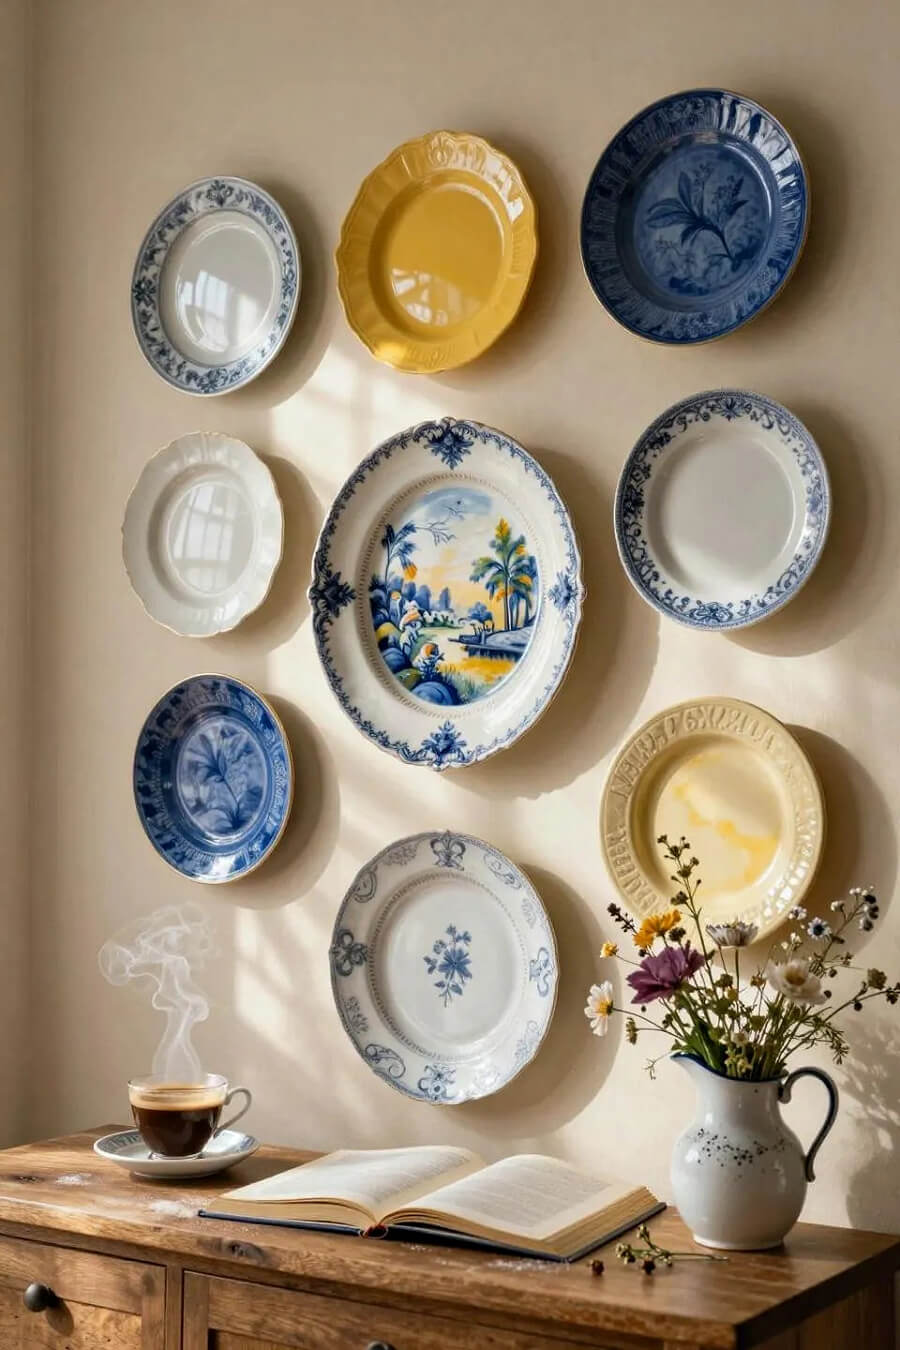
I’ve always loved discovering creative ways to hang plates on the wall. From creating shapes to placing them over doors and windows, plates can become a focal point in your home.
Decorative plates bring personality, color, and history to empty walls. They can transform everyday dishes into works of art for your walls.

I think back to all the plates and various dishes I’ve owned over the years that I no longer have. And I wonder what happened to them.
I recall giving a few away, but what happened to all the others I discovered in antique malls and yard sales?
Were they broken or just somehow lost in a move? I don’t recall now. I just know I’d still love to hang those plates, some of which I can still see in my mind’s eye, on the wall today. They would be a timeline of where I’ve gone and what I did there.
Probably at the time I relinquished them, I thought I’d no longer need or want them. Maybe I was inspired by a new style, and they didn’t fit into it.
But I wish I’d kept them and tucked them away for future use.
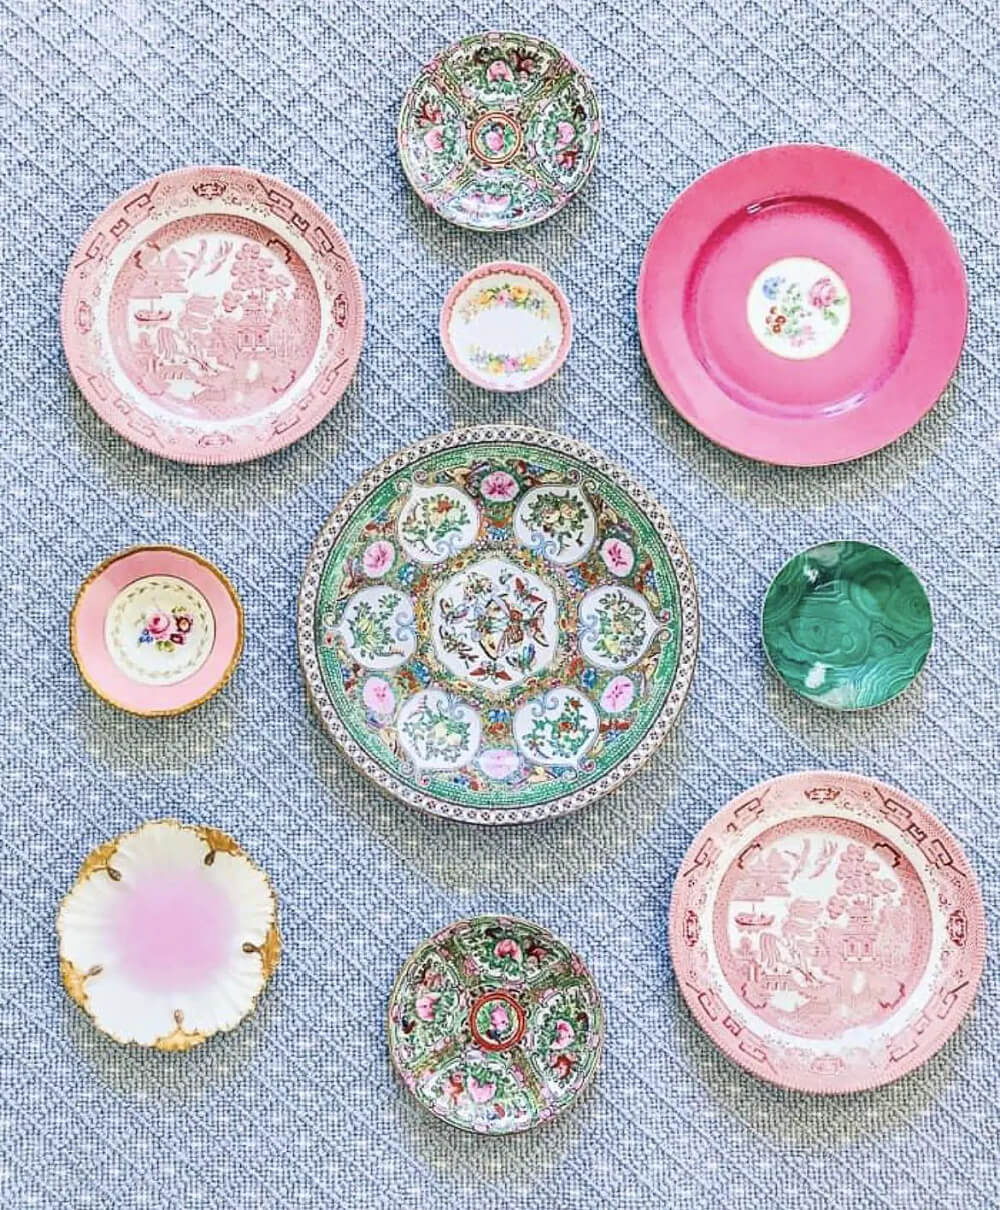
Some people have a tendency to collect too much stuff. I tend to give things away frivolously. And many times, I later wish I hadn’t.
I don’t currently have a wall display of plates in my home. But sometimes I walk around my house thinking I might like to hang a plate wall somewhere. A good distance from where curious cats could reach up and bring them crashing down.
But then, I tell myself, I don’t have to redecorate every time I see and admire pretty photos. Sometimes I can just enjoy looking and not doing!
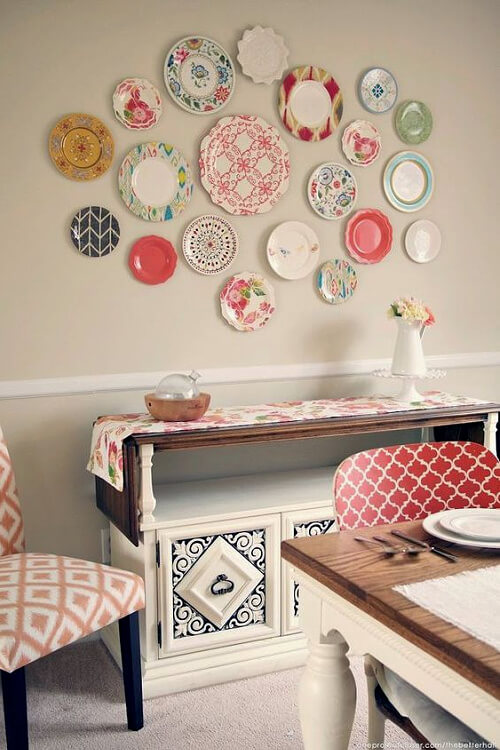
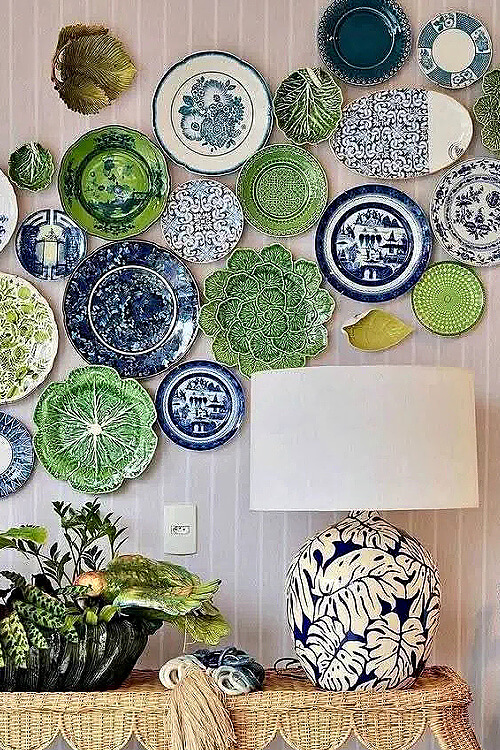
How to Hang Plates on the Wall:
Choose the Wall
Before arranging plates, decide where the decorative plate wall might look best. Some of the best places include:
- Above a dining room buffet
- In a breakfast nook
- Over a fireplace mantel
- Along a hallway
- On a stairway wall
- In the kitchen
- Above a console table
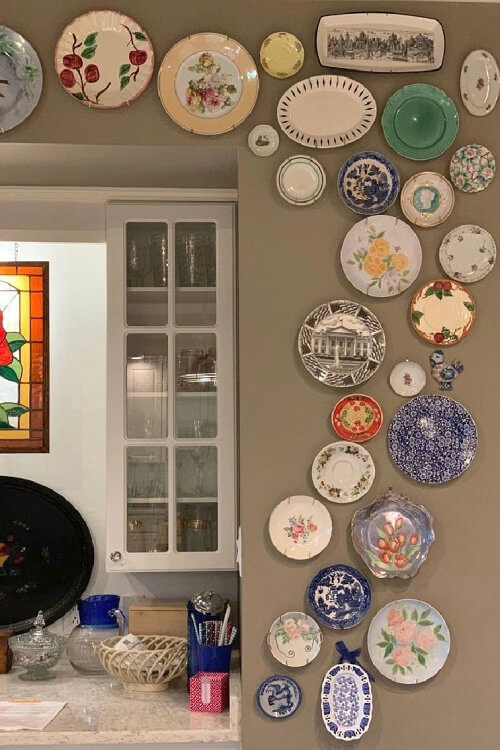
- Around a window or doorway
Choose a wall that has enough open space for the arrangement without competing with other artwork.
Decide on a Layout
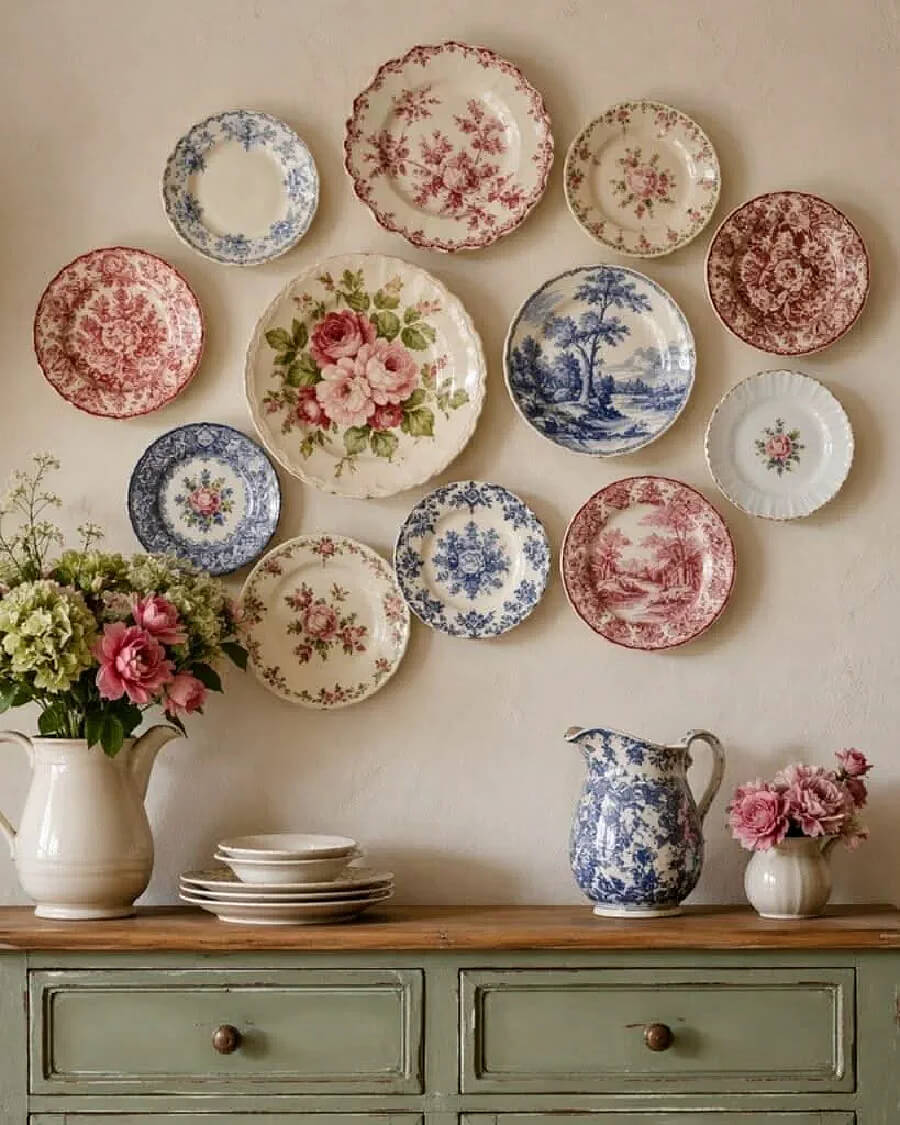
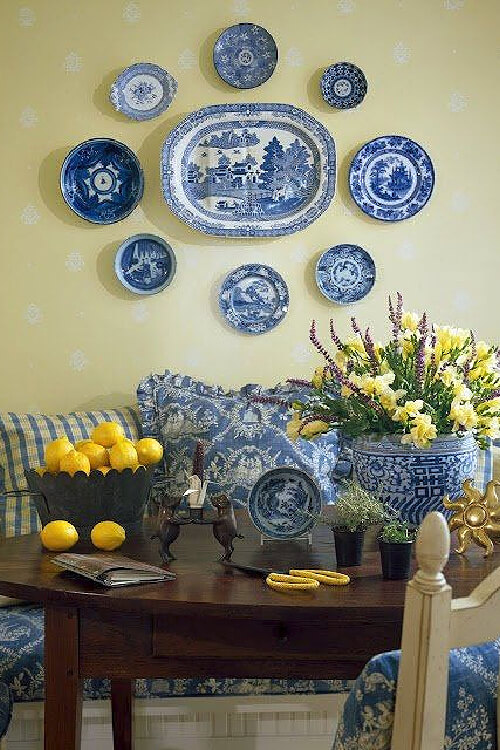
There are various ways to arrange decorative plates. You could arrange plates evenly on both sides of a center point for a balanced look. Or you could arrange them gallery style and fill up the space.
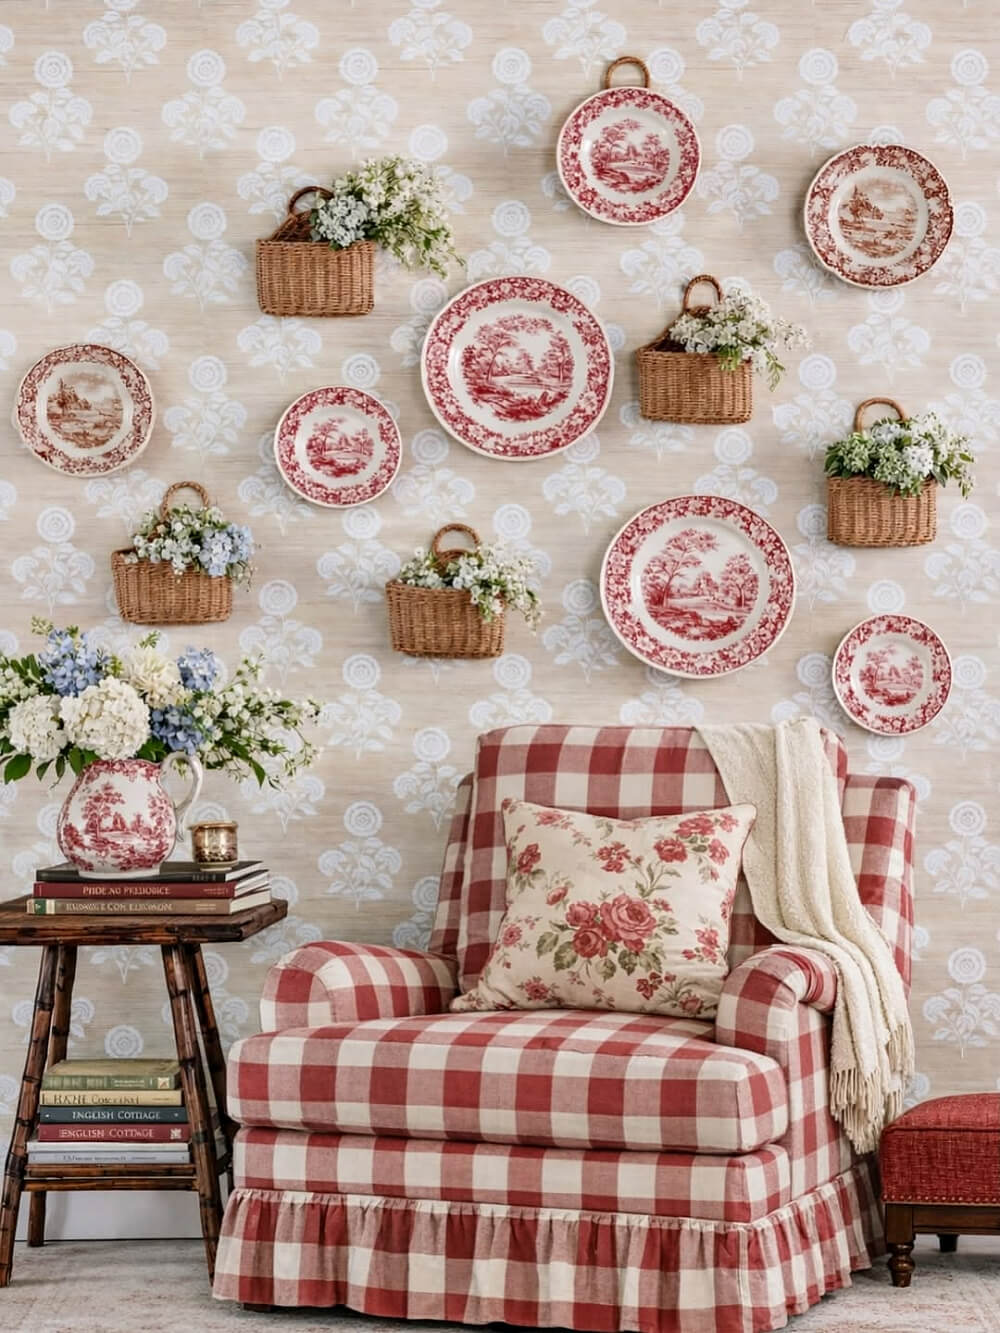
You could place them in and around other types of decor on the wall, as you see with the baskets above.
Plan the Arrangement
Before hanging anything, lay the plates on the floor. Experiment with different combinations until you’re happy with the design.
Design Tip: Mark the center of the plate wall with a pencil or tape. This is where you will hang your first plate.
Another helpful trick is to:
- Trace each plate onto craft paper.
- Cut out the circles.
- Tape them to the wall.
- Rearrange until everything looks balanced.
Choose Your Hanging Hardware
- Adhesive Discs: They stick to the back but must be soaked in water to remove.
- Wire Hangers: They use spring-tension wires that wrap around the plate’s rim. Purchase wires with rubber-tipped prongs to prevent scratching your dishware.
- Plate Racks/Shelves: Best for heavy platters, antique china, or if you like to swap out your display often. These require screwing directly into your wall studs for maximum security.
Keep the Spacing Consistent
One of the biggest secrets to a professional-looking display is consistent spacing. Generally, leave about 2 to 4 inches between plates.
Design Tip: Place larger plates first to anchor the arrangement, then fill in the gaps with smaller pieces.
Too much space makes the display feel disconnected, while plates placed too close together can appear cluttered.
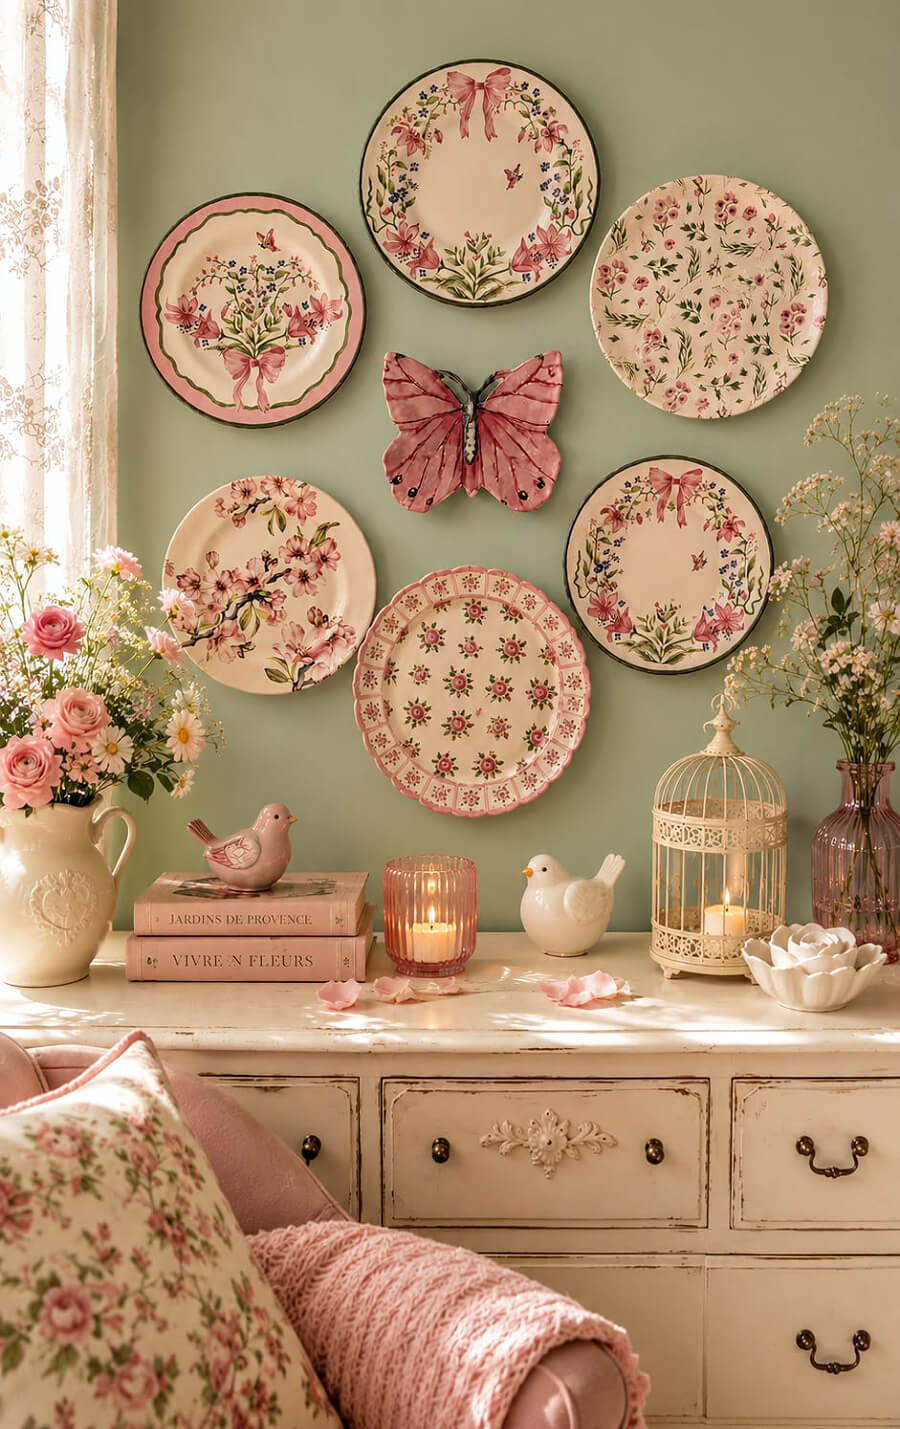
Try to keep the center of the arrangement at about eye level (around 57–60 inches from the floor), unless it’s positioned above furniture.
Hang pictures and other artwork so the bottom of the frame sits 4 to 8 inches above the furniture. This applies to sofas, console tables, dressers, and headboards.
Step back often as you work to make sure everything looks balanced. Repeating one or two colors throughout the arrangement helps tie everything together.
Best Way to Hang Plates on the Wall:
For invisible mounting, use water-activated adhesive disc hangers. For maximum security, use adjustable wire spring hangers.
Wire Spring Plate Hanger Method
- Choose an expandable wire hanger that matches your plate’s diameter.
- Hook the top two clips onto the plate’s upper rim.
- Stretch the springs and hook the bottom two clips onto the lower rim. Ensure the wires are fitted securely with no wiggle room.
- Measure the distance from the top of the plate to the hanging loop, and mark that point on your wall.
- Install a wall anchor and screw, and then hang the plate securely.
Adhesive Disc Method
- Clean the back of the plate with alcohol and dry it.
- Apply the adhesive discs: Wet the back of an adhesive disc hanger. Press it firmly into the center of your plate, and let it cure for 24 hours.
- Add Command strips: Attach one side of a Command Picture hanging strip to the metal hanging hook of the disc.
- Stick it to the wall: Press the plate against the paper template on the wall, then remove the plate. The other half of the Command strip will remain stuck to the wall.
- Press and hold it firmly for 30 seconds: Repeat this for all your plates.
- Hang and secure: Tear down the paper templates. Place your plates back onto the wall-mounted Command Strips. Then lock them into place.
To remove them, soak them in warm water to peel the disc off without damaging the glaze.
Hang Plates Securely:
Use quality plate hangers designed for each plate’s size and weight.
For valuable plates, choose hangers with protective coatings or adhesive display discs made specifically for decorative plates.
Always use appropriate wall anchors when hanging on drywall to keep your display secure.
How to Hang Plates on Your Wall if You Rent:
To hang plates without damaging your rental’s walls, use adhesive disc hangers, as described above.
The Command Strips hold the plate securely to the drywall without any nails. The discs adhere to the plate, but will soak off later without damaging the wall.
Instructions
- Apply the adhesive discs: Wet the back of an adhesive disc hanger. Press it firmly into the center of your plate, and let it cure for 24 hours.
- Add Command strips: Attach one side of a Command picture-hanging strip to the metal hanging hook on the disc.
- Stick it to the wall: Press the plate against the paper template on the wall, then remove the plate. The other half of the Command strip will remain stuck to the wall.
- Press and hold it firmly for 30 seconds: Repeat this for all your plates.
- Hang and secure: Tear down the paper templates. Place your plates back onto the wall-mounted Command strips. Then lock them into place.
When it’s Time to Remove the Plates
When it’s time to move out, simply pull the tab on the Command strip down to stretch and release it from the wall. This should leave no drywall damage.
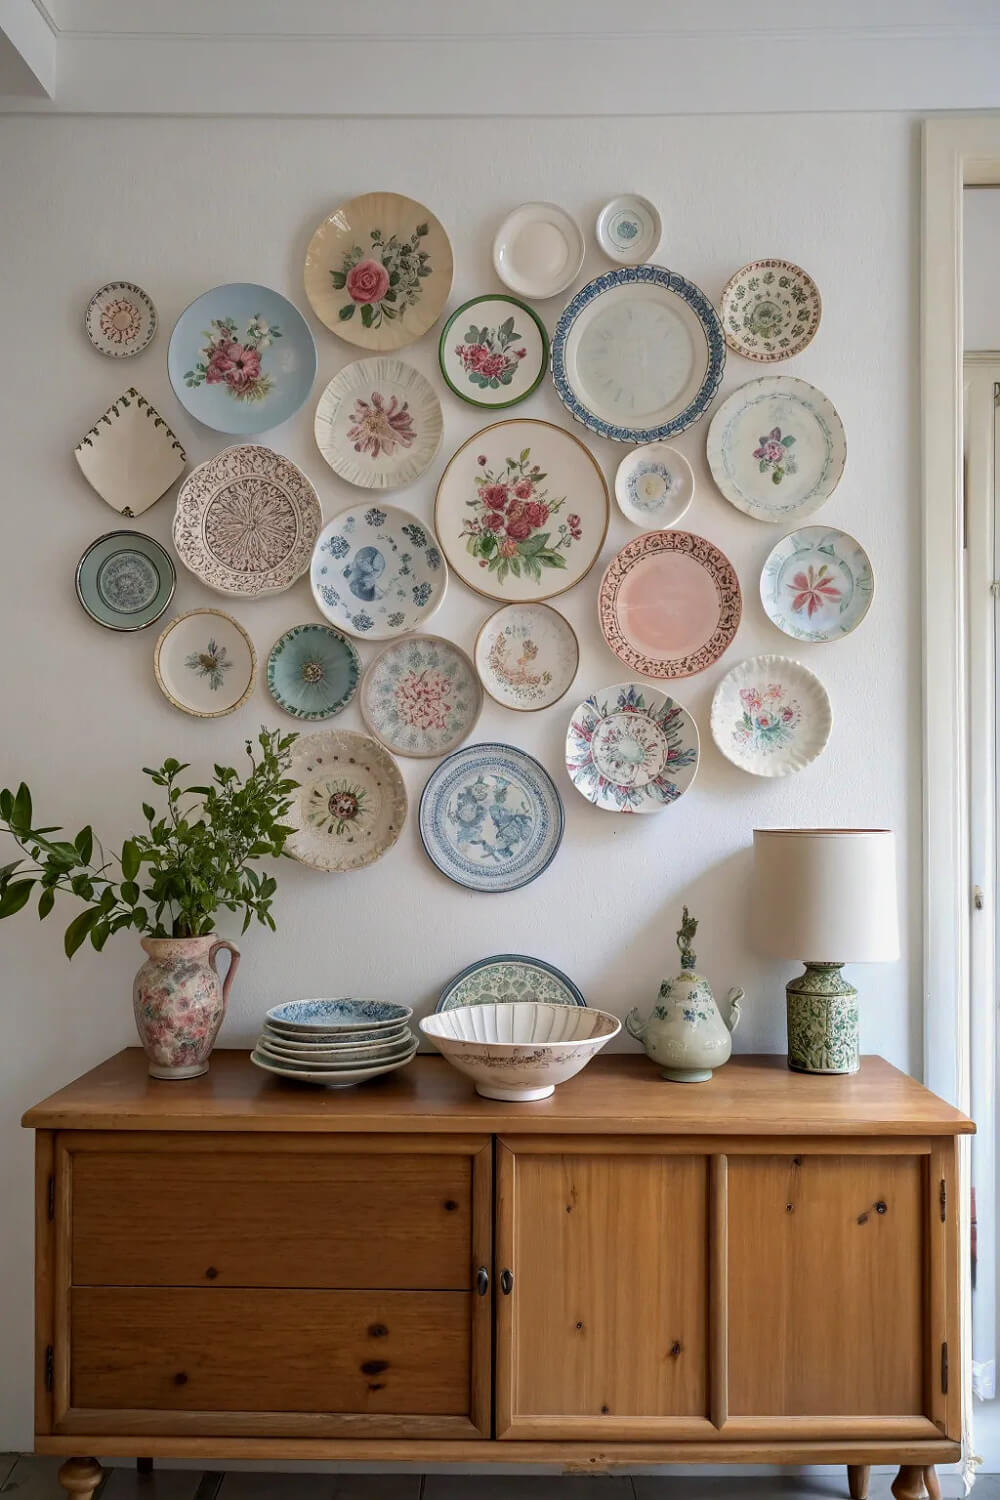
Design Tip: If you want the plate in a specific spot, put the hook two inches lower.
Let Your Collection Tell a Story:
Like any treasured collection, a plate wall tells your story, one beautiful plate at a time.
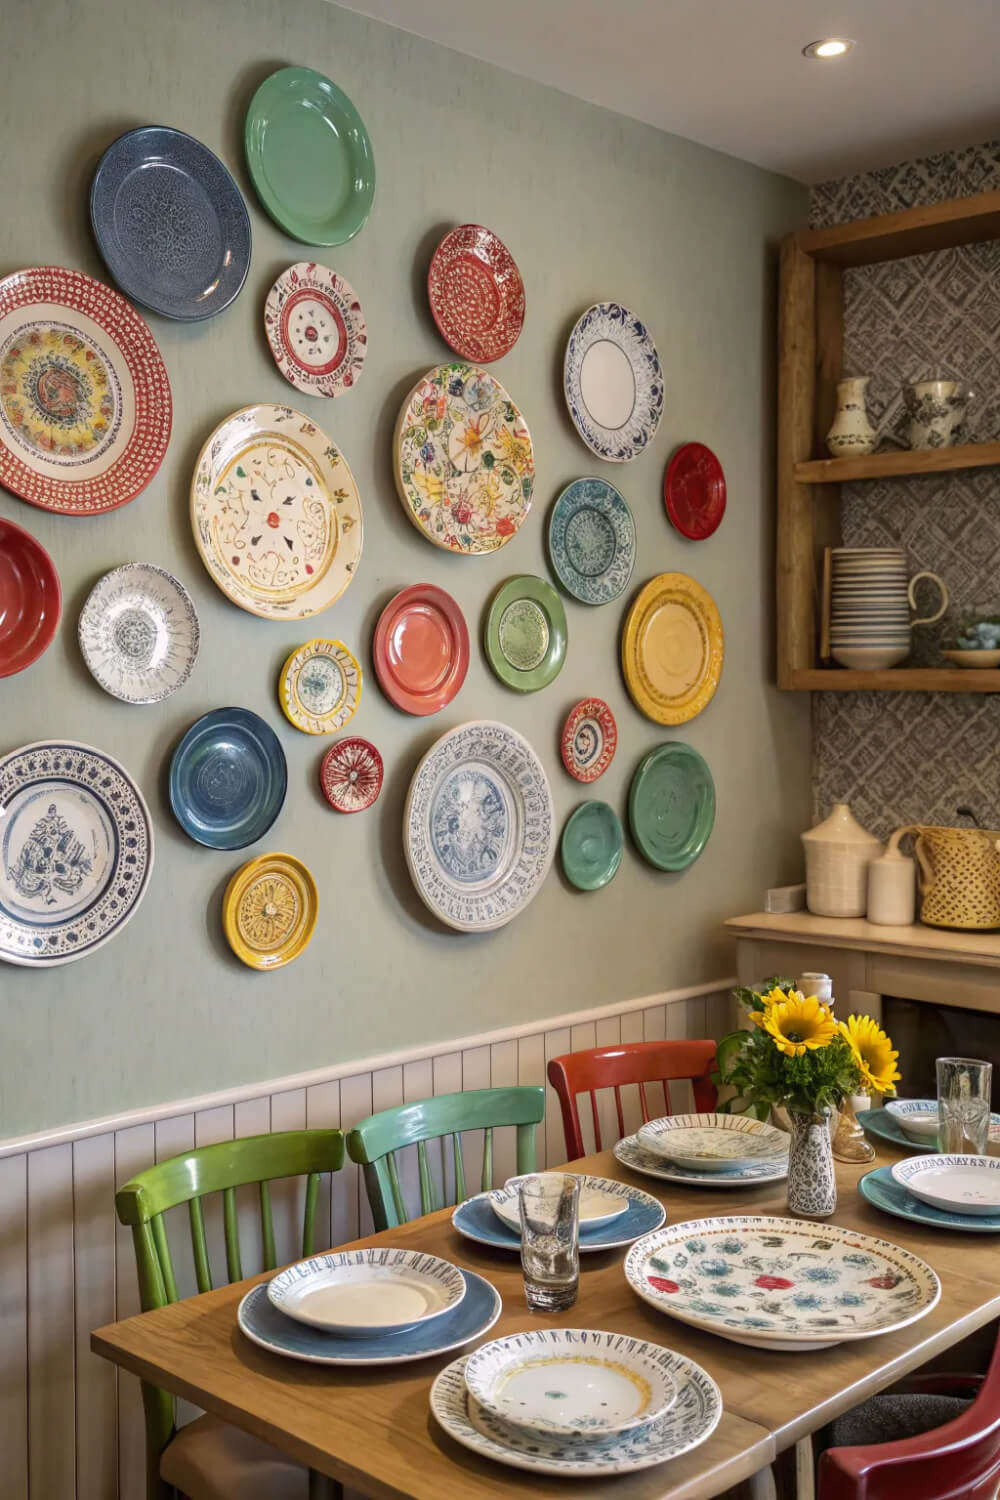
Many of your decorative plates may have come from a thrift store shelf, been inherited from a beloved grandmother, or been collected during a vacation.
Regardless of your preferred style, a decorative plate wall brings beauty to any room.



Great information! Thanks!
I have several plates hanging on my walls along with some beautiful tiles from other countries. It all has sentimental value to me. I went through a phase many years ago where I was getting rid of things that I now really regret. What was I thinking?!! I sure hope somebody somewhere is enjoying them. I really miss them! It makes it difficult now to get rid of things.
Beautiful pictures! I love the first picture and the pink plates with the butterfly in the middle! This would be way too hard for me to accomplish! I also have regrets getting rid of some things but mostly enjoy adding things I stumble upon so some others have to be passed on for someone else to enjoy. As I downsize more and more I am mostly content with what is left in my stash. I have my core decorations like boxwood wreaths and change out the smalls in and around them according to season. Like many of us I have cut back on going to the stores. I think of the younger moms who have to buy clothes constantly for the children growing out of them so quickly. I have plenty of clothes and unless I really need something or find something so comfortable to wear I usually don’t shop much. Have a good week everyone!
I love the red plates with that red checked chair!
I too have given away or sold so much of my stash of goodies. There are things I wish I’d held onto. I have a large collection of ball jars and biscuit jars. I’m contemplating selling the ball pitchers but those biscuit jars will stay with me!
I clearly have too much stuff! But I’m scared that if I do away with it, I’ll then wish I had it back.